Overview
In this exercise, we will create a two-dimensional grid of cubes using a nested loop. We’ll be extending this exercise further by adding animation to the objects. If you are unfamiliar with the basics, please go through the Grid 1D exercise first.
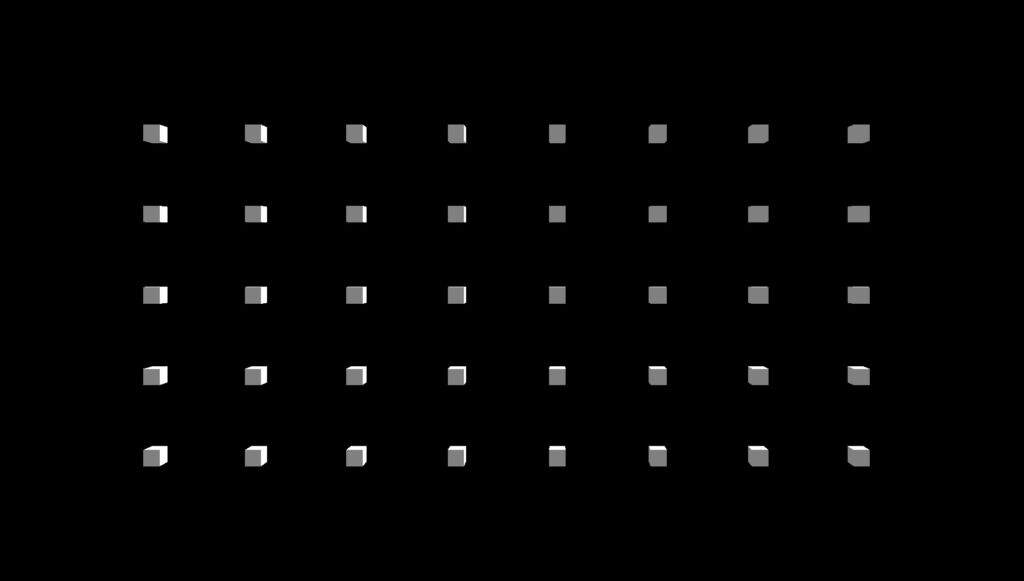
Grid 2D Codepen: https://codepen.io/xrclub/full/wvyWVXm
Getting Started: https://xr.club/exercise/getting-started/
Level I – Grid 2D
The scene, camera, lighting, and renderer need to be set up beforehand, as in the Getting Started exercise. If you need help remembering how it all works, check that exercise out before starting. Here, we will just focus on creating the Grid 2D scene.
Here are the instructions:
- define grid dimensions and cube counts
- calculate spacing between cubes
- set up cube geometry and material
- create an empty cubes array
- generate cubes using a nested for loop
- set new X & Y positions and store cube into array
Step 1: define grid dimensions and cube counts
A 2D grid uses both the X and Y axes. Determine the necessary parameters to create a grid. Set width and length as dimensions X and Y, then assign the number of cubes along each axis.
// Set the grid dimensions for each axis
this.gridDimensionX = 10;
this.gridDimensionY = 10;
// Set the number of cubes along each axis
this.numCubesX = 4;
this.numCubesY = 4;
Step 2: calculate spacing between cubes
Determine the spacing between each cube. This will be used later to calculate the X & Y positions. Divide the grid dimension size by the number of objects minus one to achieve this result. This is because there are “grid objects – 1” separations on a line.
// Calculate the space between each cube
// This is done by dividing the total grid dimension by the number of gaps between cubes (numCubes - 1)
this.spaceBetweenCubesX = this.numCubesX / (this.gridObjectsX - 1);
this.spaceBetweenCubesY = this.numCubesY / (this.gridObjectsY - 1);
Step 3: set up cube geometry and material
Create geometry and material for the cube.
// Create cube geometry and material
const cubeGeometry = new THREE.BoxGeometry( 0.5, 0.5, 0.5 );
const cubeMaterial = new THREE.MeshPhongMaterial( {
  color: 0xffffff,
  shininess: 100
});
Step 4: create an empty cubes array
Create an empty array to store cubes.
// Create an empty array to store cubes
this.cubesArray = [];
Step 5: generate cubes using a nested for loop
A nested loop is a loop within another loop. Create a nested loop that iterates through the grid objects along the Y-axis, then create cubes within the inner loop. Add cube to the scene.
// Loop through the rows of the grid (along the Y-axis)
for(let rowIndex = 0; rowIndex < this.numCubesY; rowIndex++){

  // Inside each row, loop through the columns (along the X-axis)
  for(let colIndex = 0; colIndex < this.numCubesX; colIndex++){

    let cube = new THREE.Mesh(cubeGeometry, cubeMaterial);
    this.scene.add( cube );
   }
}
Step 6: set new X & Y positions and store cube into array
For each column index, multiply this value by spaceBetweenCubesX to create the separations along the X axis. Similarly, repeat for the row index to compute the separations along the Y axis. Lastly, realign the cube’s position symmetrically according to the grid’s centre by subtracting half the grid’s X & Y dimensions respectively. Once the positions have been determined, set the new positions for the cube and push it into the empty cubes array.
// Calculate cube's X & Y position by multiplying the index with the space between each cube. Centre the grid of cubes by subtracting half the grid's dimension size
cube.position.x = colIndex * this.spaceBetweenCubesX - this.gridDimensionX / 2;
cube.position.y = rowIndex * this.spaceBetweenCubesY - this.gridDimensionY / 2;
this.cubesArray.push(cube);
Result
See the Pen Loops – 2D Grid by XR Club (@xrclub) on CodePen.
Level II – Grid 2D – Animated
Next we’ll animate the Grid 2D scene.
Add a new time variable
Create a new time variable to store the animation elapsed time.
// Set time to zero
this.time = 0;
Store time elapsed
In the update loop, continuously add dt to time. The accumulated total represents the elapsed time.
update(dt){
    this.time += dt;
    this.renderer.render(this.scene, this.camera);
  }
}
Add animation logic
Obtain the current cube by looping through the cubes array. Calculate the scale factor based on the sine function of time and the cube’s X position. Then set the object’s scale based on this scale factor. The Grid 2D should now be animated.
for(let cubeIndex = 0; cubeIndex < this.objects.length; cubeIndex++){
  // Get current cube
  let cube = this.objects[cubeIndex];

  // Calculate scale factor using sine function of the time and the cube's x position
  let scale = Math.sin( this.time + cube.position.x );

  // Set new scale factors for the cube
  cube.scale.set(scale,scale,scale);
}
Result
See the Pen Loops – 2D Grid – Ani by XR Club (@xrclub) on CodePen.