Discover how to use the XYR Cloud to create stunning WebGL visuals.
First Steps: Using a template
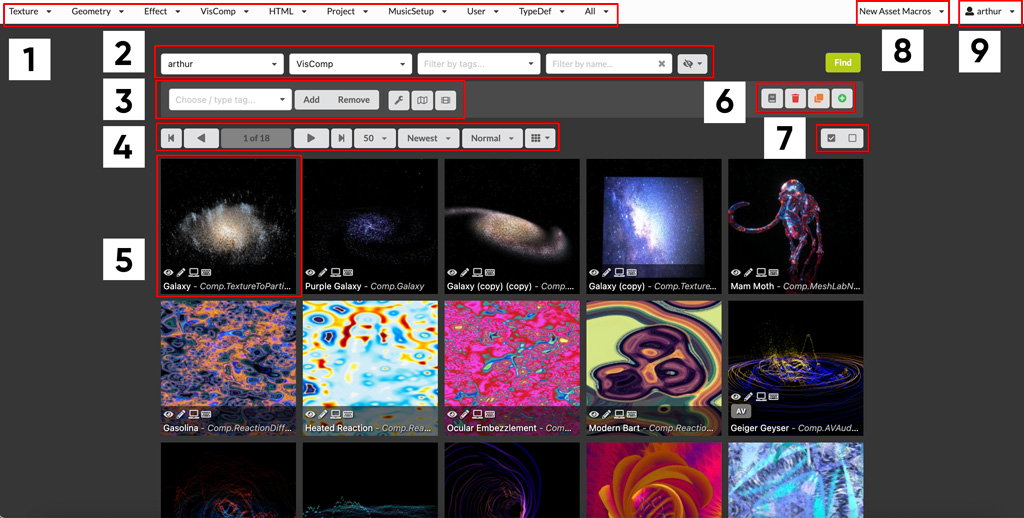
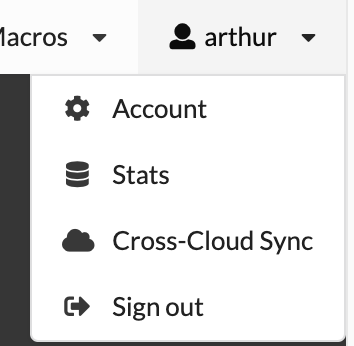
Log in to the system
As a new user, you won’t see any compositions: by default, the CMS only shows your own documents.
Select the option to view all users.
Search for ‘Flat’
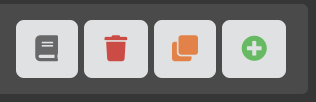
Select the document by clicking the circle in its top left corner, then clicking the ‘clone’ icon in order to clone it.
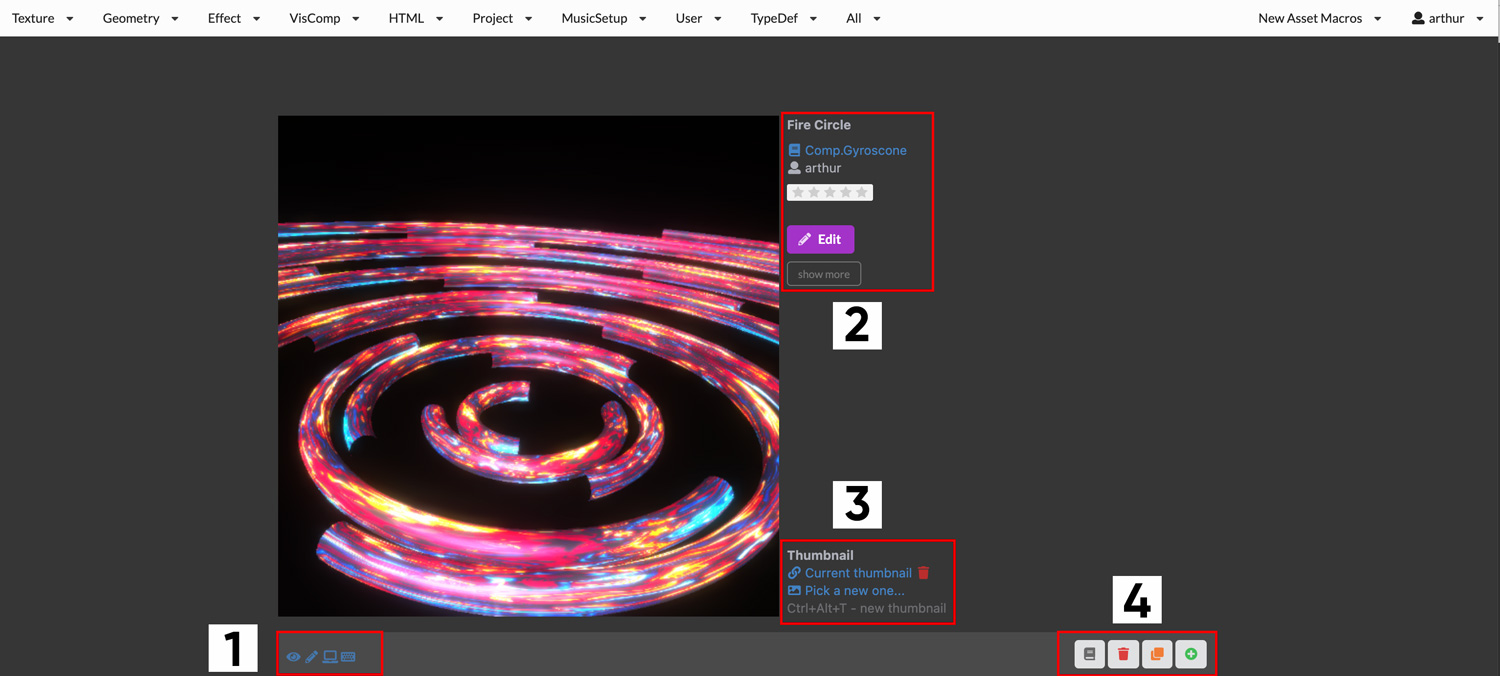
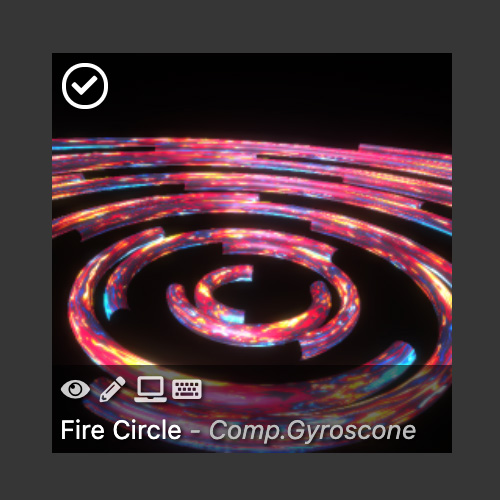
Open the newly generated document’s page by clicking on its thumbnail .
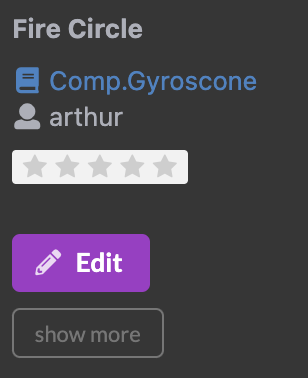
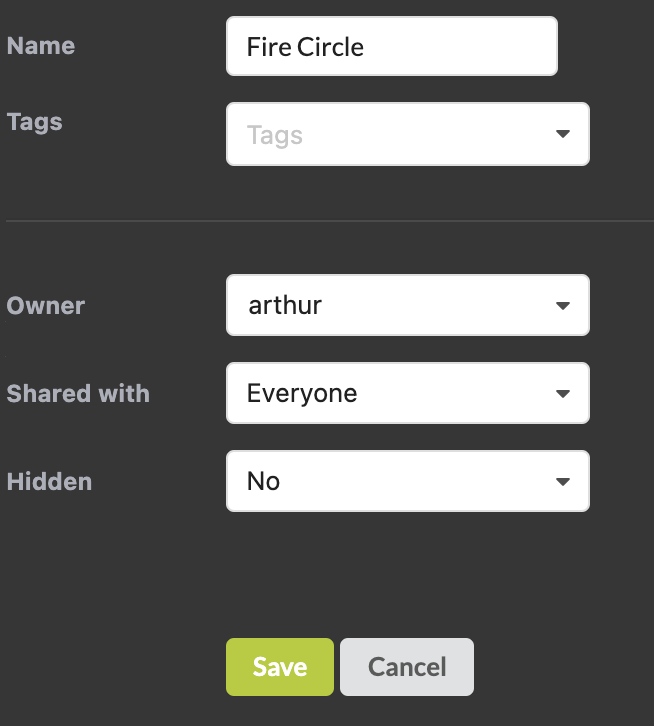
Click edit, give it a new name then save.
Editing VisComp parameters
Now let’s make some changes. Click the ‘view’ icon in order to open the VisComp in a new tab.
We’ll first start with the most obvious change: we’ll change the colors in the composition.
In this case, the colors are accessed in the ‘materials’ line.
Click ‘pick’ in order to open the browser.
You can now browse a variety of color sequences.
Let’s pick one.
Click save at the bottom of the page, or use Command + Shift + s to save the changes.
Go back to the tab where the VisComp is visible and refresh it: you should now see the updated colors.
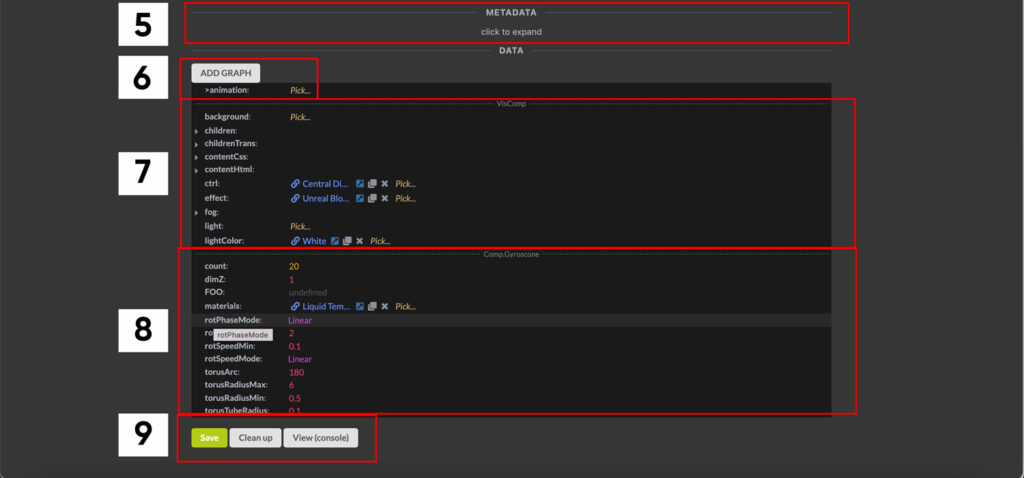
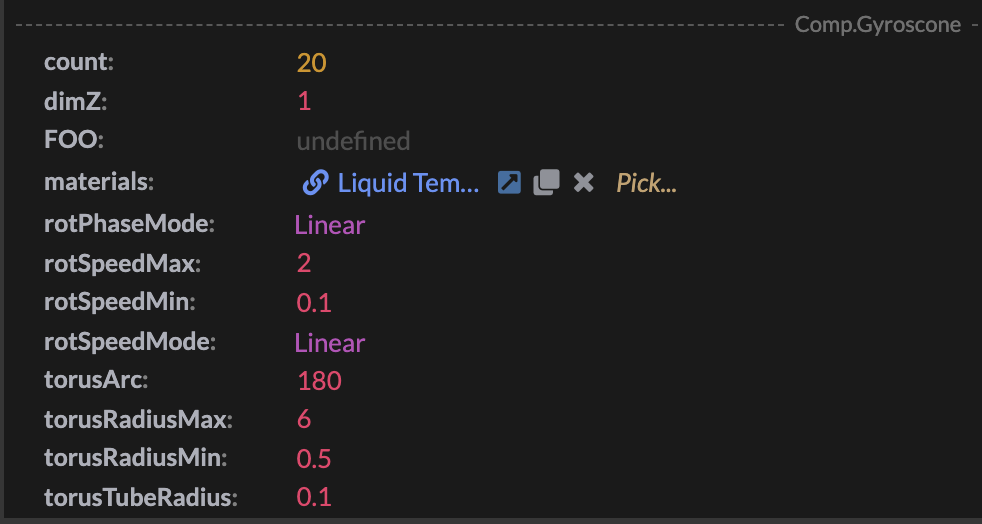
Let’s modify a few other parameters and see what they do: change the number under ‘count’, ‘dimZ’ and ‘torusArc’.
Refresh the VisComp again, and try to identify how the changes you’ve made have affected the visuals – the names of the parameters you’ve modified should already give you a hint.
From the view page, you can press Ctrl + Option + t ( ctrl + alt + t ) to take a screenshot of the composition.
Editing global parameters
Taking a step back, we can see that these parameters are under a heading: ‘Comp.Gyroscone’. These parameters only apply to VisComps that are an instance of the Comp.Gyroscone type – if you look at other VisComps of different types, they will gave their own different parameter list.
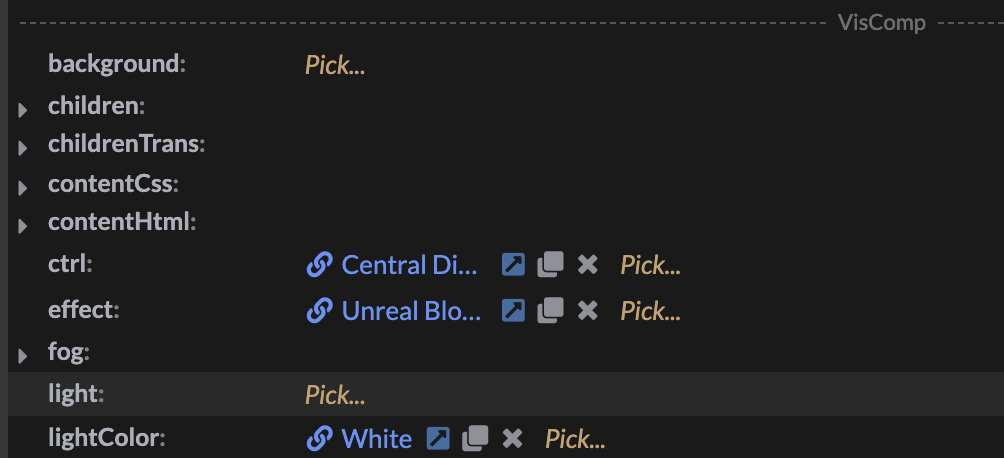
But if we look up, under the ‘VisComp’ heading, we can see a parameter list that is shared by all VisComps.
Let’s start with the ‘ctrl’ parameter, short for ‘Control’. This lets you select how the camera is controlled.
Currently, we are using a control of the type CentralDisplay. The camera always looks at the center of the composition, and we are able to make it orbit the composition as well as zooming in and out.
Let’s switch to another control: click ‘pick’ and search for ‘FreeFly’. You’ll need to make sure you are searching for presets from all users.
Save the composition and refresh the other tab: you should now be able to navigate in space using mouse and keypad, like in a standard first person video game.
Before we go any further, let’s switch the control back to CentralDisplay – it’s a bit more convenient for looking at the whole of a scene.
Now let’s have a look at backgrounds.
Click the ‘pick’ button next to the ‘background’ parameter at the very top. Now select ‘Skybox’ from the dropdown, then click on the Skybox you would like to use. A skybox is a box onto which one or more images are projected. The box is infinitely large and centered at the camera, and gives the illusion of being ‘inside’ the images.
Save the composition and refresh the VisComp tab. Nothing has happened! This is normal: if you look closely at the composition, you can see that the rotating objects leave a trace after them. This is created by a postprocessing effect, an effect that applies to the whole scene. And in this case, the effect is incompatible with backgrounds.
Let’s get rid of the effect by pressing X, then saving. Refresh the other tab, and you should now see the SkyBox in the background.
Let’s go back to the effects. Have a look around at the effects – you can hover your mouse on the thumbnail to see how it looks like on an animated scene. Try to find one that works with the background. Looking at the tags on each effect, can you figure out which tag makes effects incompatible with backgrounds?
Now is time to experiment with the remaining parameters shared between VisComps.
First the fog: this will color objects with a certain color if they are further away from the camera than the distance in the far parameter, or closer than the distance in the near parameter. I would recommend removing any effect / background before experimenting with this, to better understand how it works. Open the fog parameters, then click ‘enabled’ to turn on fog.
Next are lights: experiment with the various light systems that exist ( note: at the moment, the lightColor parameter will not affect all of these). To see more clearly what is happening, we’ll use black and white as colors for the composition.
Congratulations! You can now create variations on a VisComp. I encourage you to experiment with modifying other types of VisComps, and experimenting with the various background / ctrl / effect possibilities.
Editing other asset types
Time to go more in depth and do some more customisation! We’re going to take the previous composition we worked on and give it our own unique twist.
Images
Images are referred to as ‘textures’ in 3D graphics, because they usually function as something that gives texture to a 3D object’s ‘skin’, whereas an image is a flat 2D picture.
In order to upload an image, go to ‘Texture’, hit the ‘new’ button and then drag and drop one or more images. Easy!
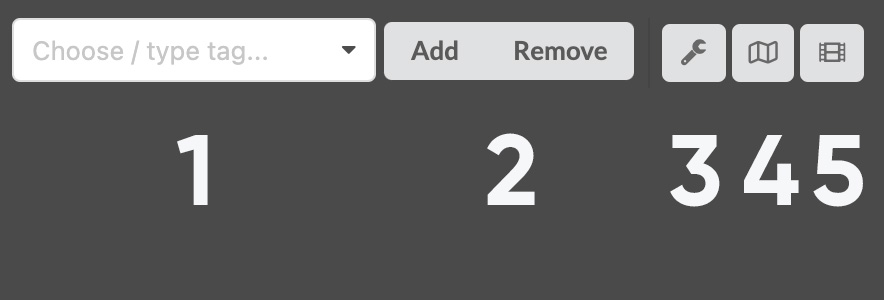
Now let’s group some of these textures together: under the ‘Texture’ menu, go to ‘Seq:Texture’. This is short for Sequence<Texture>, or a sequence of textures. Click new, give it a name ( and possibly tags, to make it easier to categorise ). Then under ‘elems’ you can search for textures and drop them in.
When this is done, click save and head back to our composition. We can now use this instead of the current colors by selecting Sequence<Texture2D> from the materials dropdown, then selecting our sequence.
Colors
In the same way we can make texture sequences, we can also make color sequences. The procedure is nearly identical: under Texture, click Seq:Color, then the new button.
You can then add in colors using either the color picker, or by typing in their hex codes (which is quite handy as you can copy these from an online color palette generator).
Once you’ve created a satisfying palette, let’s apply it to our composition’s lights. Make sure you select lights of the ‘LightSys.TriRot’ type, then choose your color palette under ‘lightColor’
Shaders
Now let’s have some fun with shaders.
Search for ‘Walled In’. Now do the same procedure as we’ve previously done with our VisComp and clone it.
Shaders can be previewed directly in the CMS: you can see the changes you do on the sliders and color pickers reflected instantly. Once you are happy with your result, don’t forget to save it!
Like for Textures and Colors, you can also create sequences with shaders under Texture > Seq:Shader
Geometries
So far, we’ve only dealt with colors and images. Let’s have a look at 3D objects.
We have two categories of Geometries:
- procedural ones, generated by code from some parameters. They’re usually mathematical shapes such as cubes, pyramids and spheres.
- Models, which are created by an artist in a 3d modeling software (Blender, Maya, 3ds…) then exported to GLTF format. These are used for everything that can’t easily be described by code, such as human beings, everyday objects etc.
Let’s investigate the procedural geometries first. We’ll skip the standard cubes, spheres etc as they are frankly quite boring on their own! Instead, let’s experiment with knots.
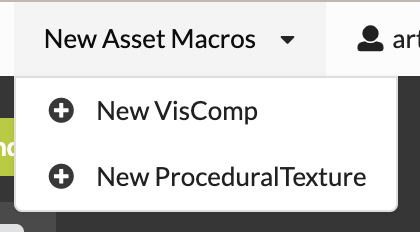
This time, instead of cloning an existing document, we’ll create it from scratch.
In the top browser bar, click on ‘TypeDefs’, then search for ‘Geometry.TorusKnot’. Click on the ‘new’ button.
Now fill in the parameters to your fancy – I would recommend starting with the default parameters shown in the description. As when editing VisComps, you can click the ‘view’ button to open it in a new tab and inspect it from every angle
Making a complete 3D object
It’s time to put together everything we’ve learned. We’ll be using a new kind of VisComp to create a 3D object consisting in a geometry colored by a material, and add a control, effect and lights to the scene.
Head back to the VisComps section, and search for ‘Comp.MeshLab’ under ‘type’. Now create a new composition from that type. Fill in the geomA (geometry) and matA (material) parameters – use whatever you prefer.
Then select a control (CentralDisplay is usually a good choice) so that you can inspect the scene. Once you’re happy with the look, try adding in effects, lights and background.
Making a 3D Scene
Finally, let’s discover how we can integrate multiple compositions into a single scene.
Head back to the VisComp tab, and create a new VisComp using the ‘+’ button.
You’ll notice this VisComp doesn’t have any type specific parameters, just the shared ones.
Start by selecting a control and lights.
We’ll then add other VisComps to this VisComp. Select the ‘children’ parameter, then add in the 3D object you’ve just made + the first VisComp you’ve worked on.
Next, click the ‘add’ button next to the childrenTrans parameter. This will create coordinates for your two VisComps. You can set their position, scale and rotation from there. Do not forget this step! A VisComp doesn’t have a childrenTrans parameter to go with it, it won’t be added to the scene.
You can now open your VisComp, and should be able to see your two compositions together.
Please note that lights, background, control and effect all come from the top level VisComp, so you won’t see any light/BG/FX that you may have selected for its children.
You can play around with the childrenTrans parameters to position the compositions
Conclusion
You should now be able to create / clone the basic cloud assets, and put them together into a scene. Congratulations!